
Building a shelter in the wild: techniques for survival
When venturing into the wild, knowing how to build a shelter is essential for survival. Whether you’re camping, hiking, or unexpectedly stranded, having some fundamental skills can make all the difference. In this article, I will guide you through various techniques for building a shelter in the wild, ensuring you stay safe and comfortable while fully enjoying the beauty of nature.
The Importance of a Shelter
A shelter is vital for protecting yourself against the elements, maintaining body temperature, and providing a sense of security. Exposure to wind, rain, cold, and even insects can pose significant risks to your health. A well-built shelter can mitigate these risks, offering a haven where you can rest, recover, and plan your next steps.
Choosing the Right Location
Location is crucial when building a shelter. Here are some factors to consider:
- Terrain: Look for a flat, dry area. Avoid low-lying spots that could flood during rain.
- Wind Protection: Opt for a location shielded from the wind by natural features such as boulders or dense vegetation.
- Proximity to Water: While it’s essential to have access to water, avoid setting up too close to rivers or lakes to reduce the risk of flooding and insect bites.
- Resources: Ensure there’s an ample supply of building materials like branches, leaves, and rocks nearby.
Types of Shelters
There are various types of shelters you can build depending on the available materials, weather conditions, and the amount of time you have.
Debris Hut
A debris hut is one of the simplest and most effective shelters you can construct using natural materials found on the forest floor. Here’s how to build one:
- Find a strong, long branch and lean it against a tree at an angle.
- Stack smaller branches along one side of the main branch to form a rib-like structure.
- Cover the framework with leaves, grass, and other insulating materials to keep warmth in and rain out.
A-Frame Shelter
The A-frame shelter is another straightforward option that provides excellent protection against wind and rain. Here’s the step-by-step process:
- Place a sturdy branch horizontally between two trees to form the ridgepole.
- Lean shorter branches against either side of the ridgepole to create an A-shape.
- Cover the structure with leaves, moss, or other natural materials for insulation.
Lean-To Shelter
The lean-to shelter is ideal for situations where you need a quick setup. Follow these instructions:
- Find a large, sturdy branch and prop one end up against a tree or rock to create an inclined roof.
- Lean smaller branches against the main branch to form the structure.
- Cover with leaves, grass, and other insulating materials.
- For added protection, build a reflector wall using rocks or logs on the opposite side of the fire (if you have one) to direct heat towards the shelter.
Essential Tools and Materials
While you can build a shelter using only natural materials, having a few essential tools can make the process much more efficient:
- Knife: A sturdy knife is invaluable for cutting branches and rope.
- Paracord: This strong, lightweight cord is perfect for securing branches and creating a stable structure.
- Axe or Hatchet: These tools are useful for chopping wood and other materials.
- Tarp: A tarp can be used as a roof or ground cover for added protection against moisture.
Insulating Your Shelter
Insulation is critical to staying warm and comfortable. Use natural materials like leaves, grass, moss, and pine needles to insulate your shelter. Layer these materials generously to create a thick barrier against the cold. If possible, place a pile of leaves or other insulation materials on the ground inside your shelter to keep your body off the cold, damp earth.
Maintaining Your Shelter
Once your shelter is built, periodic maintenance is necessary to ensure it remains functional:
- Repair Damages: Regularly check for and fix any structural damages caused by wind, rain, or animals.
- Add Fresh Insulation: Over time, leaves and other insulating materials may compress or decompose, requiring replenishment.
- Improve Windbreaks: Continuously adjust and reinforce windbreaks to maintain effectiveness.
Safety Considerations
Building a shelter in the wild involves certain risks. Keep these safety tips in mind:
- Avoid Dangerous Materials: Ensure the materials you use are not hazardous. For example, avoid using poison ivy or other irritating plants for insulation.
- Beware of Structural Integrity: Make sure your shelter is stable and won’t collapse. Reinforce critical points to withstand wind and other forces.
- Fire Safety: If you build a fire, ensure it’s far enough from your shelter to prevent accidents. Never leave a fire unattended.
Understanding how to build a shelter in the wild is a valuable survival skill that can greatly enhance your outdoor experiences. Whether you’re a seasoned adventurer or a novice explorer, these techniques can help you stay safe and comfortable in the great outdoors. Remember, practice makes perfect. Spend some time honing these skills in a controlled environment to prepare for any wilderness adventure.
 Best survival knives for outdoor adventures
  10 must-have survival tools for any adventure
  Wild foraging: identifying edible plants in the wilderness
 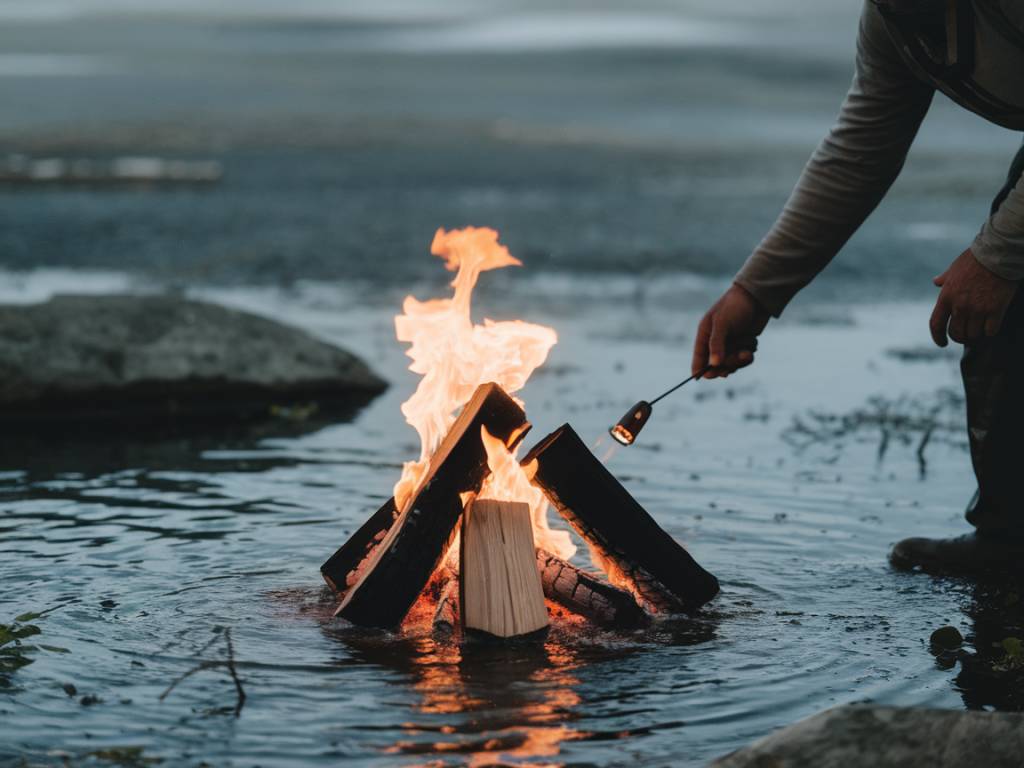 How to make a fire in any weather conditions
 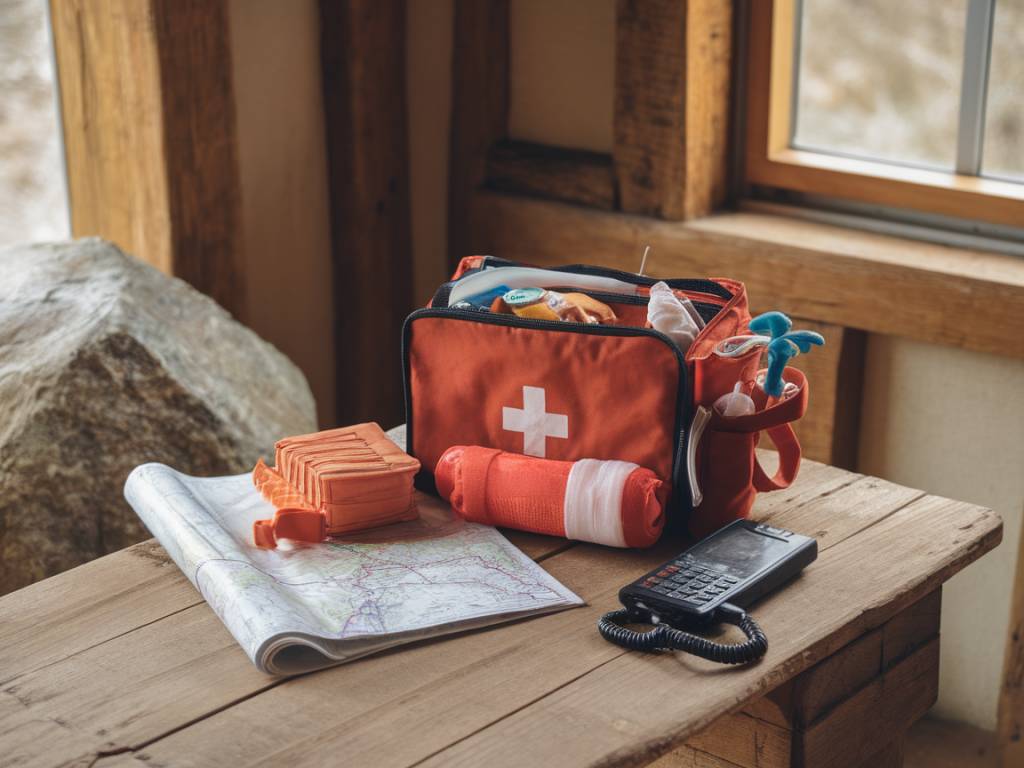 How to handle emergencies in remote locations
  How to stay safe while solo hiking in remote areas
  Aventurer en jungle tropicale : guide pratique pour explorer les forêts les plus sauvages du monde
  Traversées polaires : comment préparer une aventure en Arctique ou en Antarctique
 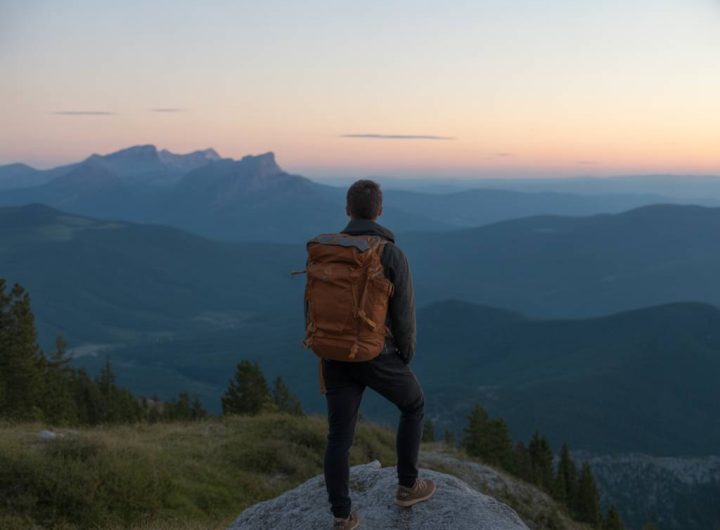 Microaventures près de chez vous : comment vivre l’aventure sans quitter votre région
  Caving Adventures: Exploring the World’s Most Fascinating Underground Destinations