How to navigate without gps: essential map and compass skills
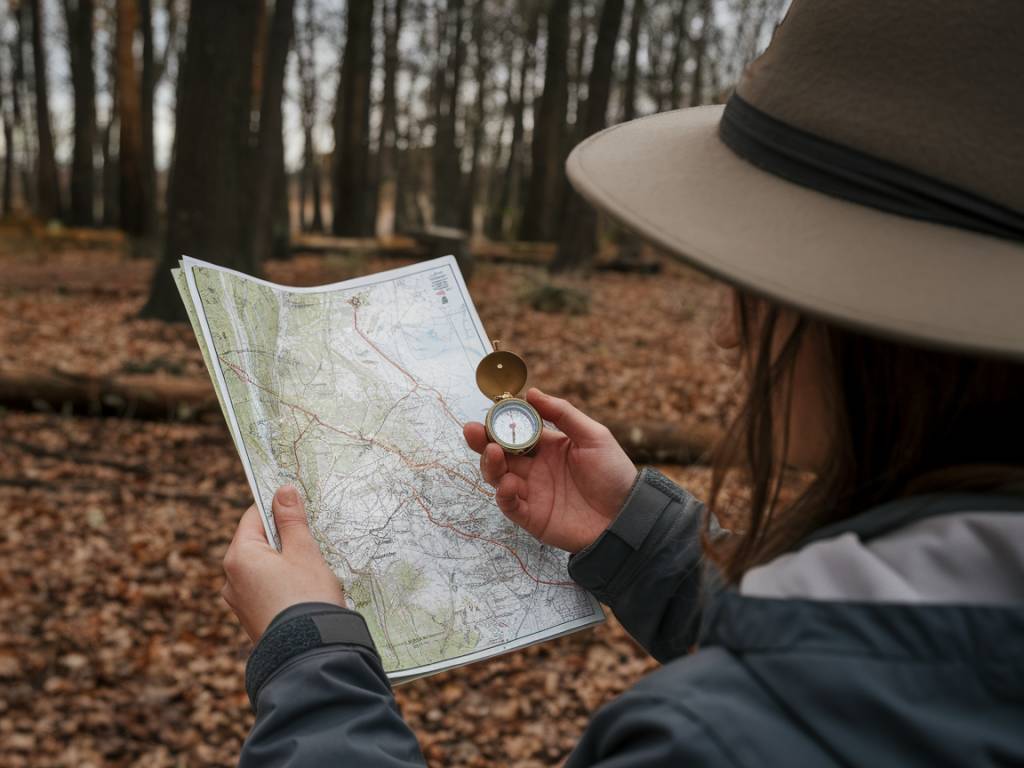
In an age where digital technology dominates almost every aspect of our lives, it’s easy to overlook the timeless skills that once helped adventurers navigate the wild. Today, I’m going to dive deep into how to navigate without GPS, focusing on essential map and compass skills. Mastering these skills not only enhances your sense of self-reliance but can also be crucial in situations where technology fails.
Understanding Topographic Maps
The first step to navigating without GPS is understanding how to read a topographic map. Unlike regular maps, topographic maps show the layout of the land, including elevation, terrain features, and man-made structures. This kind of map provides a three-dimensional view of the terrain on a two-dimensional surface.
Several key features to understand include:
- Contour lines: These lines connect points of equal elevation. Closely spaced lines indicate steep terrain, while widely spaced lines indicate flat or gently sloping terrain.
- Legend: The legend explains the symbols used on the map, such as water features, trails, and roads. Familiarize yourself with these symbols before your adventure.
- Scale: The scale tells you the ratio between distances on the map and actual distances on the ground. Common scales for topographic maps are 1:24,000 or 1:50,000. Understanding the scale helps you estimate distances accurately.
- Grid lines: These lines form a coordinate system, usually in Universal Transverse Mercator (UTM) format, which helps you pinpoint your location.
The Compass: An Essential Tool
A compass is indispensable for navigation without GPS. The basic parts of a compass include the baseplate, the direction-of-travel arrow, the rotating bezel or housing, and the magnetic needle. The red end of the needle points north.
Here’s how to use a compass effectively:
- Orienting the map: Place your compass on the map with the edge along a North-South grid line. Rotate the map and compass together until the compass needle matches the N-S grid lines on the map.
- Taking a bearing: To determine the direction to a specific point, place the edge of the compass baseplate along the line connecting your current location and the target location. Rotate the bezel until the North on the bezel aligns with the compass needle. The direction-of-travel arrow will now point you towards your destination.
- Following a bearing: Hold the compass flat in front of you with the direction-of-travel arrow pointing away. Rotate your body until the magnetic needle aligns with the North on the bezel. Walk in the direction of the arrow, periodically checking to ensure you’re on course.
Using Map and Compass Together
The real power of these tools is unleashed when used together. Here’s a step-by-step approach:
Step 1: Determine Your Location
Before setting off, identify your starting point on the map. This could be a trailhead, a specific landmark, or any location you can accurately pinpoint.
Step 2: Plan Your Route
Draw your intended route on the map, taking note of key landmarks, changes in terrain, and potential obstacles. Break your route into segments, each terminating at a distinct landmark to make it easier to follow.
Step 3: Set Your Bearings
For each segment of your route, use the method described above to take a bearing with your compass. Write these bearings down on a piece of paper to refer back to later.
Step 4: Track Your Progress
As you navigate, periodically stop to check your map and compass. Compare the terrain around you with the features on the map. Ensure that you’re still on course by verifying nearby landmarks. Adjust as necessary if you find yourself off course.
Tips for Effective Navigation
Mastering map and compass skills takes practice and patience. Here are some additional tips to help you hone these skills:
- Practice in a safe environment: Start by practicing in a familiar area with established trails. This way, if you get off course, you can easily find your way back.
- Use natural landmarks: Identify and use prominent natural features like rivers, ridges, and valleys to help navigate. These can often be more reliable than man-made landmarks that might not be accurately represented on the map.
- Keep your map and compass handy: Store these tools where they are easily accessible. I always keep mine in the top pocket of my backpack or around my neck using a lanyard.
- Avoid relying solely on GPS: While it’s tempting to use GPS for everything, periodically practicing with a map and compass ensures that these critical skills remain sharp.
- Check the weather: Weather conditions can greatly affect visibility and terrain. Always check the forecast before heading out and be prepared for changes in the weather.
- Bring extra supplies: Things like a notepad, pencil, altimeter, or even a protractor can serve as valuable aids in advanced navigation scenarios.
Advanced Techniques
For those looking to take their skills further, several advanced techniques can be invaluable in more challenging environments:
Triangulation
This technique helps pinpoint your exact position by identifying and taking bearings to at least two, preferably three, known landmarks. Here’s how:
- Identify at least two landmarks visible both in the field and on your map.
- Take a bearing to each landmark using your compass.
- Draw lines on the map from each landmark at the corresponding bearing. Where these lines intersect is your current location.
Using an Altimeter
An altimeter measures your altitude and can be particularly helpful in mountainous regions. By knowing your elevation, you can match this with the contour lines on your map for more accurate navigation.
Pacing
Pacing is a method to measure distance traveled by counting steps. On level ground, you can establish a baseline distance covered per 100 steps (a “pace count”). This technique is particularly useful in dense forests where visibility is limited. Here’s how:
- Determine your pace count over a known distance (e.g., 100 meters).
- While navigating, count your steps to estimate how far you’ve traveled.
- Adjust the count for various terrains, as your step length will shorten on steep ascents or descents.
Practical Applications
The next time you find yourself planning an outdoor adventure, remember that relying solely on GPS can be risky. Batteries die, signals get lost, and devices fail. Equipped with a map and compass, and more importantly, the skills to use them, you can confidently navigate through even the most unfamiliar terrain. Developing these skills is a rewarding endeavor that enhances your connection to the environment and boosts your confidence in the great outdoors.
Whether you’re an experienced hiker looking to refine your skills or a novice adventurer eager to learn, taking the time to master map and compass navigation provides lasting benefits. So, next time you venture into the wild, leave the GPS in your pack and challenge yourself to navigate the old-fashioned way. Your future adventures will be richer for it.
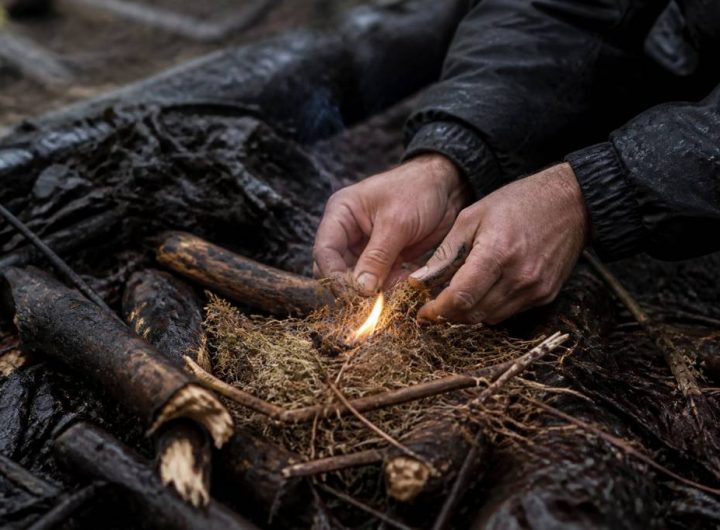 How to start a fire with wet wood in survival situations
  Best survival knives for outdoor adventures
  10 must-have survival tools for any adventure
  Wild foraging: identifying edible plants in the wilderness
 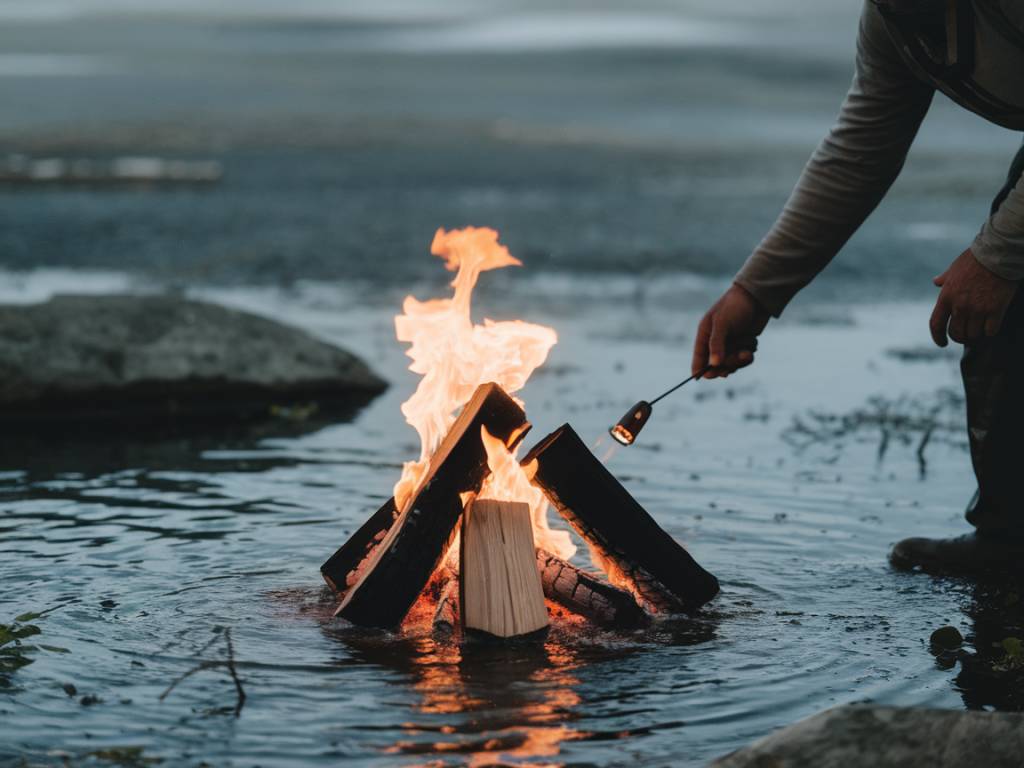 How to make a fire in any weather conditions
 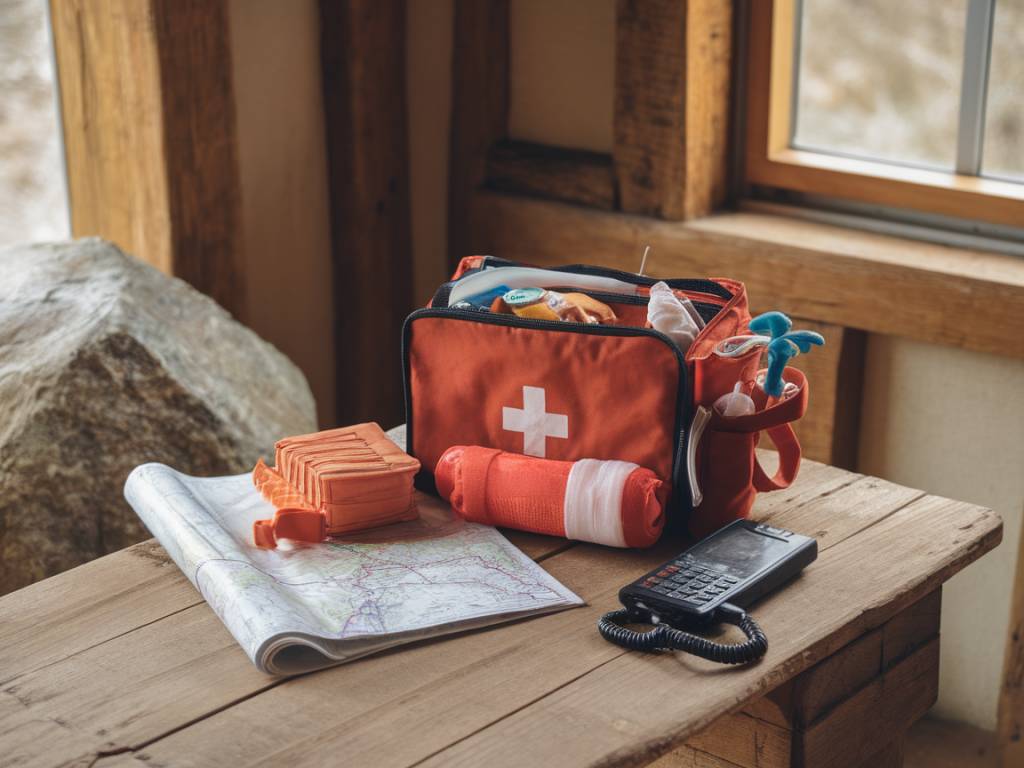 How to handle emergencies in remote locations
  Adventurous place: the best remote destinations for thrill seekers
  Adventure activities for thrill seekers and outdoor explorers
  The best elevator shoes for men in 2026